Emulsion Paint
How to Paint an Already Painted Room with Emulsion Paint?
Like many things in life, there are different ways of doing things. However often there is only one 'correct' and most efficient way. The following is a guide on how to paint out a room – walls and ceiling - with emulsion paint in an efficient and logical manner.
Preparations
- First off remove the lampshade from any central ceiling light and then unscrew the circular plate, making sure not to touch any of the wires inside the housing. Paint 6 inch around the housing with two coats of paint, allowing two hours between coats if the room is warm.
- While waiting for the first coat to dry, loosen all the switch plates and socket plates. You don't have to remove them from the wall completely, just create a 3 mm go between the wall and the plate. Run a flat piece of masking tape along the top edge of the plates as this will act as an 'umbrella' against any falling paint spray when you paint the walls. Let the tape stick out beyond the outer edge of the plate to shelter the face.
- Fill any cracks with a lightweight filler and caulk any gaps between skirting and walls and walls and door frames. Lightly sand the edges of these areas to provide a key as you will have to paint over the area where caulk is applied, though you don't have to paint the whole skirting board or frame.
- If you do not intend to paint the skirting boards, run masking tape along the top edge of this as well, and the same applies if you are not painting window sills – cover these as well.
- Put masking tape along the top of any radiator or wall-mounted heater, as well as any thermostat or controls.
- Remove all curtains and curtain rails/poles.
- Move all furniture into the centre of the room. Once you have done this you will understand why the first task was to paint around the central ceiling light housing.
- Cover all furniture and flooring with dust sheets.
Pre-handling the Surface
- With what is called a hand sander, which is about an A6 envelope size with a handle, sand down all the walls to remove any minor imperfections and foreign bodies trapped in the original paint and smooth off any filled cracks
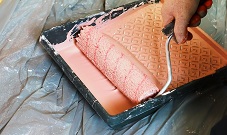
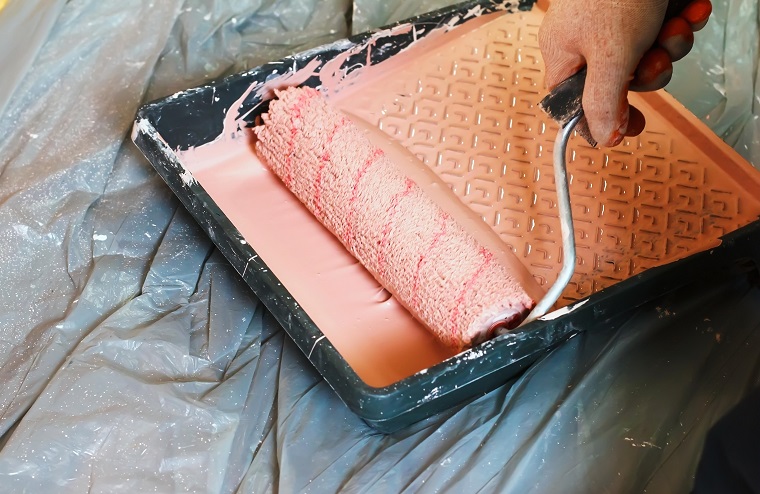
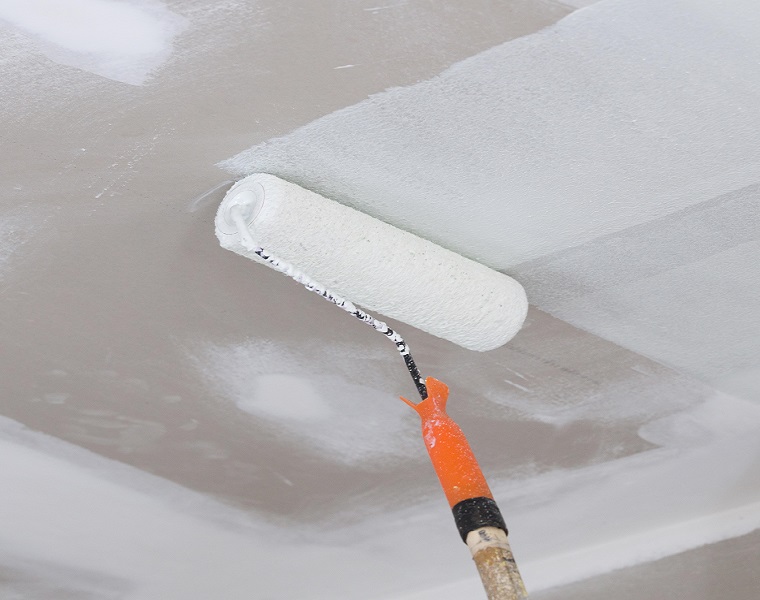
- You will want to paint the walls and ceiling with a roller to get a smooth and even finish. You should also invest in an extension pole for the roller as they are inexpensive and make painting ceilings so simple. However rollers can't get into the corners or up to all edges, so before painting the ceiling with a roller, you want to paint a 4 inch strip around the edge of the ceiling where it meets the wall. Do not worry if you get paint on the wall as you will be applying two coats of paint on the wall afterwards which will cover it up. Basically don't waste too much time trying to be precise when painting the edges of the ceiling. Cover the ceiling in two coats, even if it looks good after one – seldom does every bit of ceiling get covered in paint in one go.
- Painting the wall is a slightly more delicate procedure. Applying paint up to a specific edge is known as 'cutting in', especially in the area where the walls and ceiling meet. To get a straight line between the wall and ceiling, the trick is not to overload the brush with paint and run it smoothly along the wall approximately 1 inch below the ceiling. Return and then run the brush up against the ceiling in a log smooth stroke rather than short strokes and dabs. Using this two long smooth stroke method allows for the paint to be pushed up to the ceiling rather than painted directly against it.
- Cut in around all the door frames skirting boards, window reveals and window sills – as well as around any radiators.
- Cut in around any light switch plates and socket plates – with the plate raised off the wall you should be able to get paint right up to and under the plate edge without painting the plate itself. A useful tip here is that once you have painted around each switch plate with a brush, you can quickly go over the paint you have applied with a mini roller to give the same finish that the large roller will when you paint the rest of the wall. This mini roller can be used for painting around the radiators as well as it can reach further behind than a brush.

Finishing the Job
- Using a roller, and still attached to a pole if the furniture in the middle of the room doesn't get in the way, apply emulsion to the walls in long sweeping rolling strokes, ensuring even coverage. As with the ceiling, apply two coats to the walls.
- Remove all the masking tape before the paint has had a chance to dry completely to avoid peeling any paint off the wall unnecessarily.
- Tighten up all the switch and socket plates.
- Remove all dustsheets.
- Touch up the tops of skirting boards and edges of door frames with one coat of the same paint as previously used to cover any caulk applied to cover gaps.
- Return furniture to its usual place and then reattach the plate to the central light housing and put the lampshade back on.
- Pat yourself on the back!
Ask for Free Quotes From Quality Painters
You will discover that there is considerably more involved in painting than knowing how to use a paintbrush or roller. We want you to feel more confident that when you ask a painter to give you a quote for painting your property, you will recognise from their answers that they clearly know what they are talking about. So, have a look at these articles and then use our simple form to request quotes from local painters to get the ball rolling. Request your Free Quotes here.
What does your painting job cost?
Approach painters and decorators in your area, request quotes and start comparing rates in order to find the right tradesman for your painting job.Read other articles and guides:
> Painter
> Painter prices
> Painting the Outside of a Property
> Painting Tips
> Personal Safety
> Primers
> Private Residential Painting
> Ratings
> Local Painters
> Mould
Most Read Articles
Avoid bad painters to find the right one. A how-to guide on which signals to look for.
> Read the full article


What are good paint brands and how to pick colors for the ceiling and walls?
> Read the full article